When building a PC, one of the most important yet confusing steps is connecting the Power Supply Unit (PSU). The PSU sends power to every component in your system — from your motherboard and CPU to your GPU and drives.
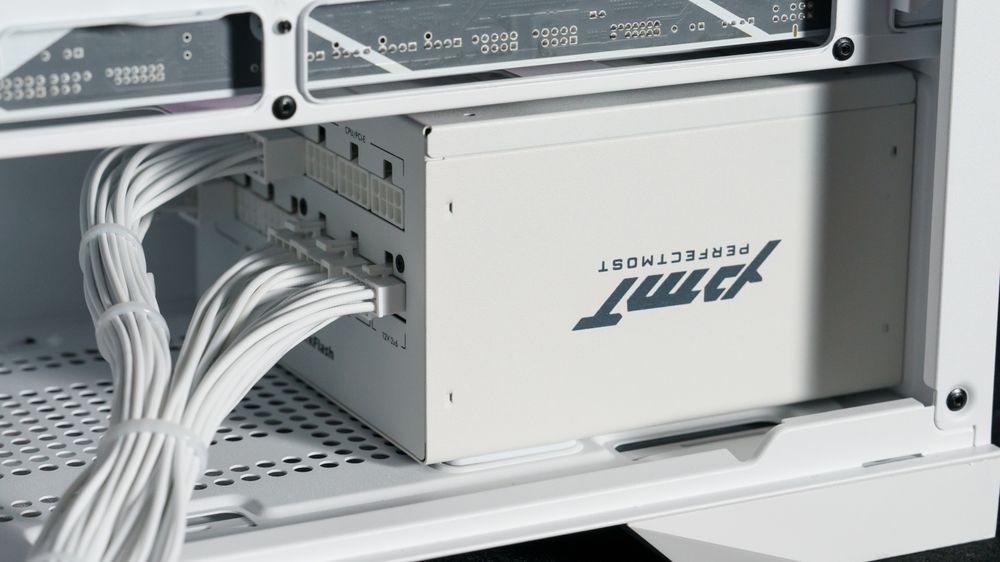
In this guide, we’ll use the darkFlash PMT Series PSU — known for its modular design, high efficiency, and clean cable layout — as a real example to show you where every cable goes and what each one does.
1. 24-Pin ATX Main Connector
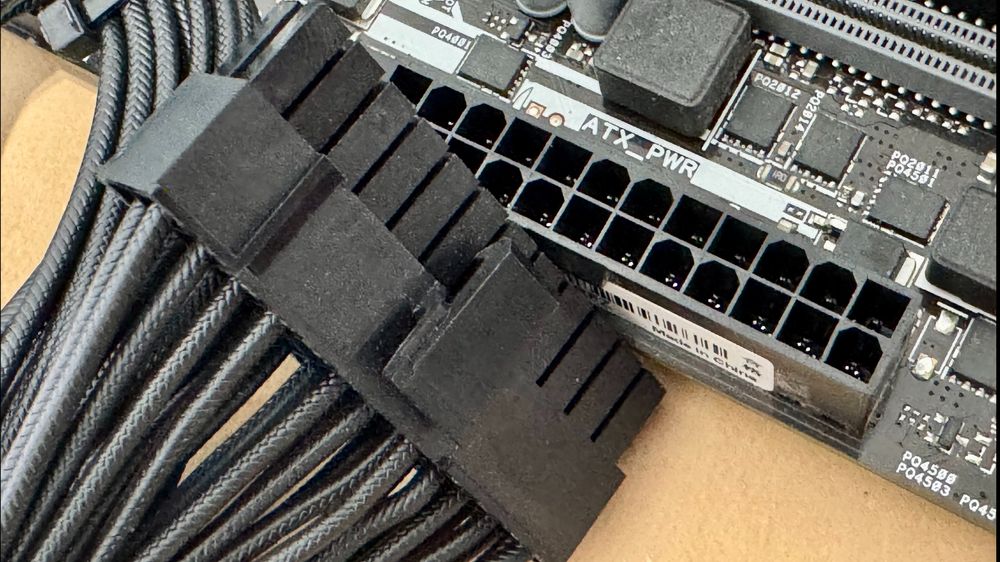
Purpose
Supplies power to the motherboard.
Where it goes
Right edge of the motherboard.
Tip 1: Modern boards use a 24-pin connector, but older ones may use 20-pin. The extra 4 pins are backward-compatible.
Tip 2: The cable is keyed to fit one way. Make sure it clicks securely into place.
2. CPU 4+4-Pin Connector – Powering the Processor
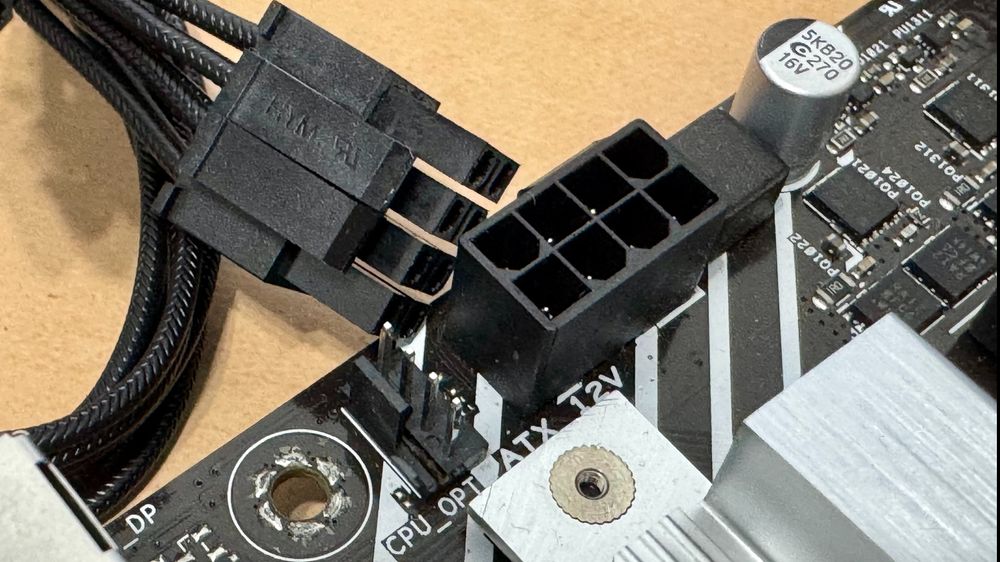
Purpose
Delivers power directly to your CPU for stable operation.
Where to Plug
The 4+4-pin (EPS) cable from your PSU goes into labeled CPU_PWR or ATX12 socket at the top-left corner of your motherboard.
Tip: Some motherboards may require additional 4pin or 4+4 pin connector.
Tip: Be careful not to confuse it with PCIe cables — the pin layout is different even though they look similar.
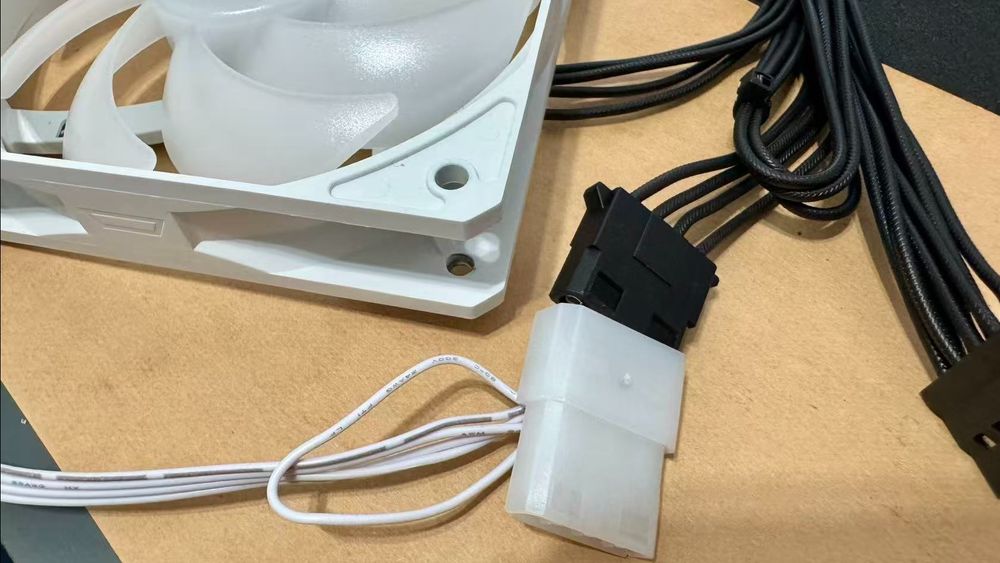
3. SATA Power Connector – For Storage & Accessories
Purpose
Powers SATA-based storage drives and accessories, such as:
SSDs / HDDs
Fan or ARGB controllers
AIO pumps
Where to Plug
The flat, L-shaped SATA connector plugs into the side of drives or accessories.
Tip: Each SATA cable usually has 3–4 connectors, allowing you to chain multiple devices.
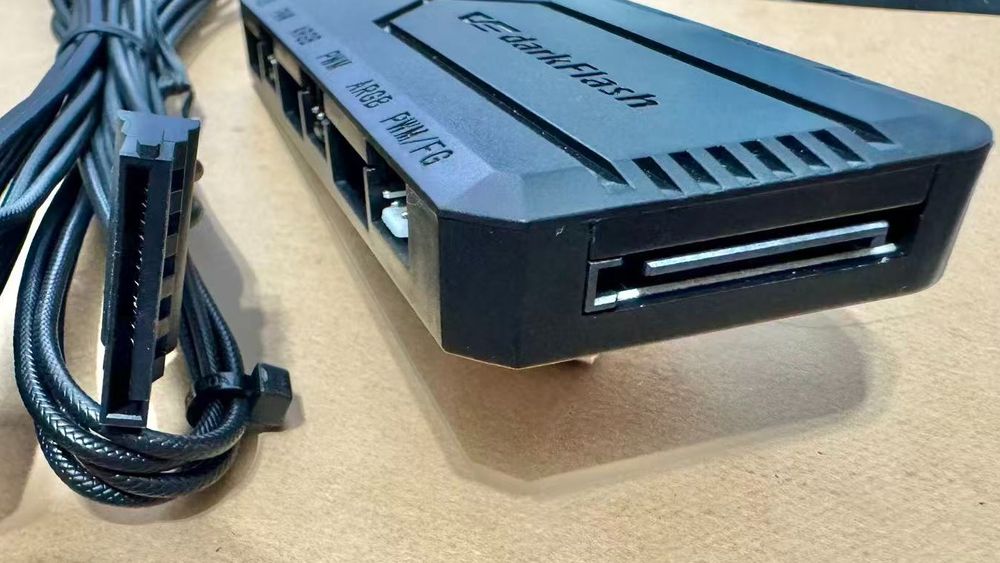
4. Molex Connector – For Legacy Devices
Purpose
Supplies 12V power to older devices or certain accessories (like some LED strips or fan hubs).
Where to Plug
If your accessories use Molex, connect them to the Molex chain cable from your PMT PSU. Otherwise, you can leave this cable unused.
Tip: Align the connector carefully — the pins are rigid and can bend if forced.
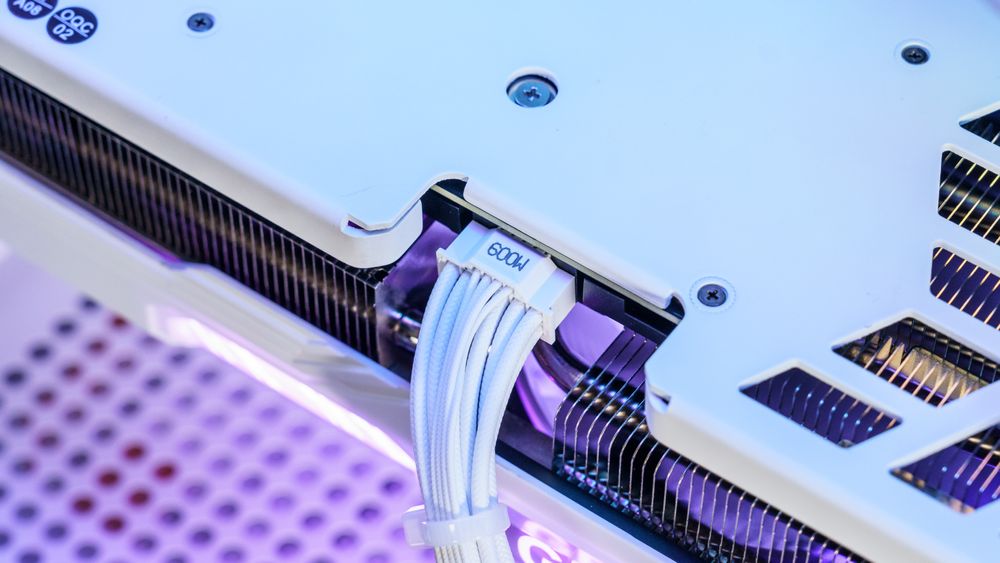
5. PCIe 6+2-Pin Connector – For Your Graphics Card

Purpose
Provides power to your GPU. The PCI Express (PCIe) connector powers your GPU (graphics card). Modern GPUs demand a lot of power, often requiring multiple connectors.
Where to Plug
Connect the 6+2-pin PCIe cable(s) from the PSU to your GPU’s power input(s). You can use:
1× 8-pin for entry GPUs
2× 8-pin for mid-range
3× 8-pin or 12V-2×6 for high-end models
Tip: Always use PCIe/VGA-labeled cables, not CPU ones.
6. 12V-2×6 Connector – For Next-Gen GPUs
Purpose
This next-generation connector (also called 12VHPWR) delivers up to 600 W through one compact 16-pin plug.
Where to Plug
Connect it to your GPU's 16-pin port until you hear a click. Ensure the plug is fully seated to prevent heat buildup.
Tip: If your GPU uses an adapter (e.g., 3× 8-pin to 12V-2×6), make sure all cables are plugged directly into the PSU — avoid daisy-chaining for high-power cards.
Pro Tips from darkFlash
Use modular PSUs to connect only what you need.
Route cables behind the motherboard tray for better airflow.
Double-check all connections before turning on your PC.
If you hear no fan spin or lights, recheck the 24-pin and CPU connectors first.
Final Thoughts

Connecting your PSU correctly is crucial for both performance and safety. Every plug has its purpose — once you understand what each does, building and upgrading your PC becomes easy and enjoyable.
Take your time, check your manuals, and make sure every click counts.